 within the Task Planning object.
The MS Project Addin enables the CAMMS project Gantt chart to be exported to MS Project and checked back into the CAMMS database once the changes are made. In order to use this you must install the Add-in first.
Step 1: Click on the icon 'Download MS Project Addin'  within the Task Planning object.
Note: Your configuration details will appear here - the web service URL and Organisation name will be specific to your environment. You will use this information under step 8 below.
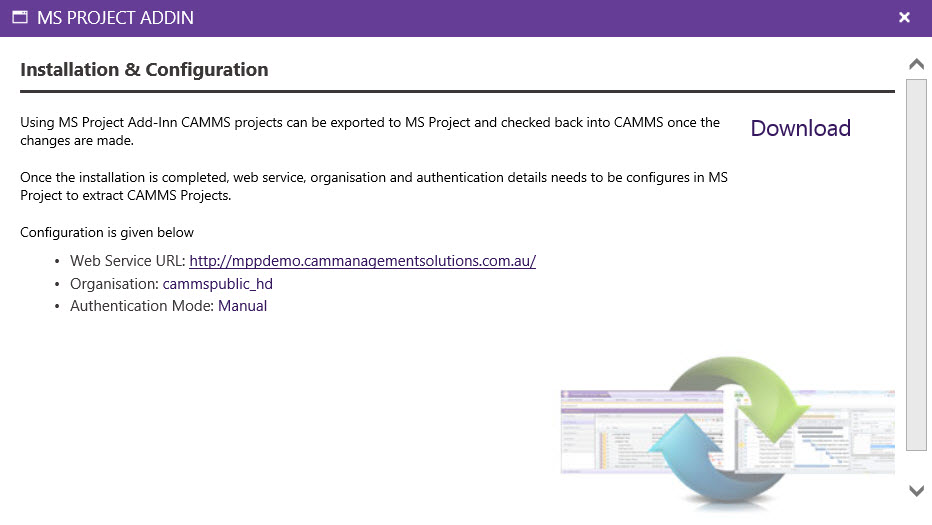
Step 2: Click 'Download' to start the download. A pop up will be displayed asking you to Run, Save or Cancel.
Step 3: Click 'Run'

It may take a few minutes to install.
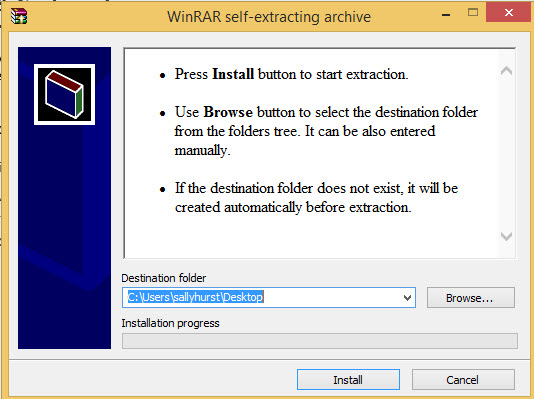
Step 4: A new message will be displayed to 'Install' to complete the installation. Click 'Install' after selecting your destination folder for it to save to.
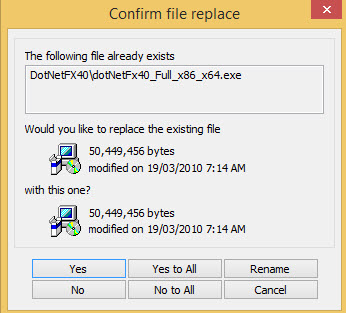
If this file already exists, it will ask if you would like to replace the file, click 'Yes to all' to replace any existing files:
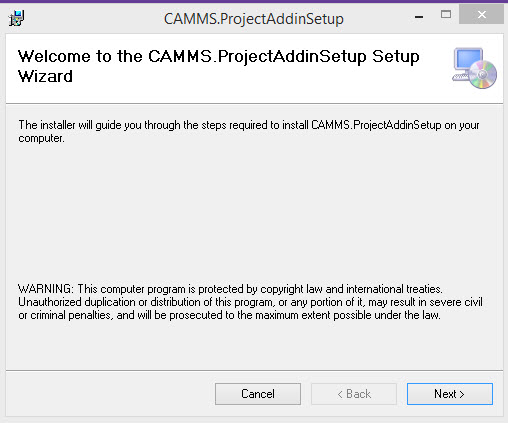
Step 5: To finalise the installation, a series of Wizards will appear for you to read and click 'next' :
Click 'Next' after selecting the installation folder:
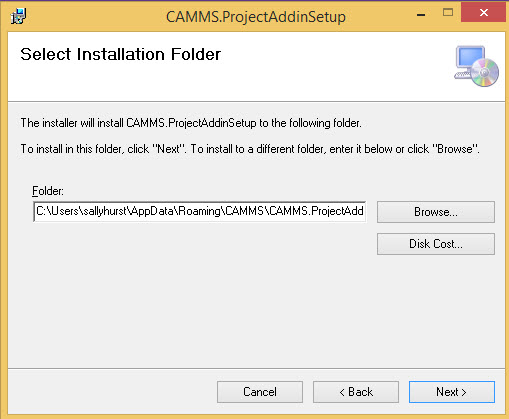
Click 'Next':
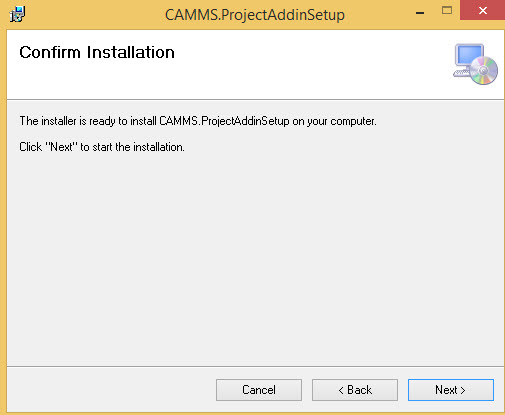
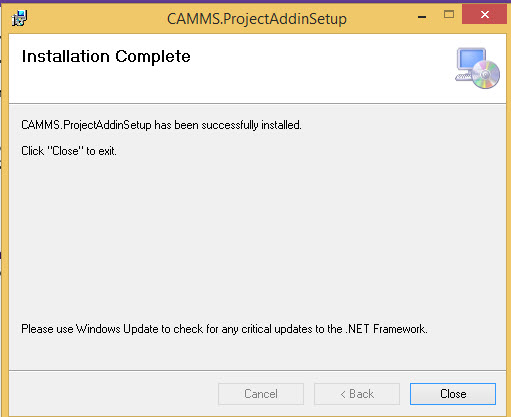
Once it has been downloaded successfully, click 'Close'.
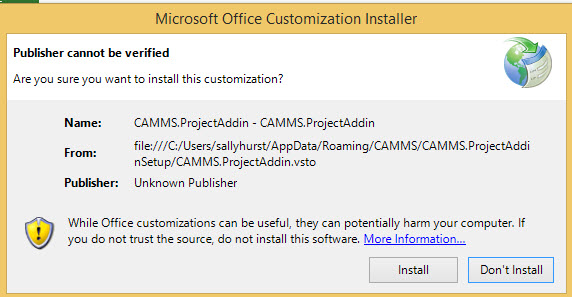
Step 6: Open up MS Project and you will have this message pop up: Click 'Install'
Step 7: Open a new blank Project and find the tab called 'CAMMS Plug In'. Click 'Settings' to set up the configuration.

Step 8: Add in the configuration details to configure your database to MS Project. Here you need to configure the web service, Authentication, Database and User Login details. Please note that the User Logins are needed when 'Manual Authentication' is selected.
Once you have entered in the details from your Configuration details (displayed in IPM once you have clicked on the download MS Project icon), Click 'Test' to ensure that the configuration works.

When the 'test' of the configurations have been successful, you will receive this message:
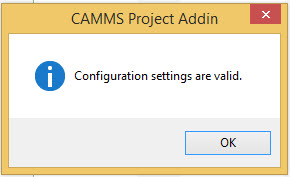
If this fails, please contact CAMMS to help check your configurations.
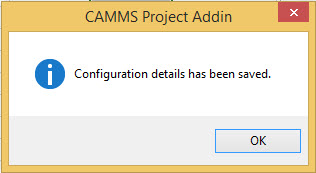
Step 9: click 'save' to save the configurations and you will receive a message saying that the 'Configuration Settings have been saved'.
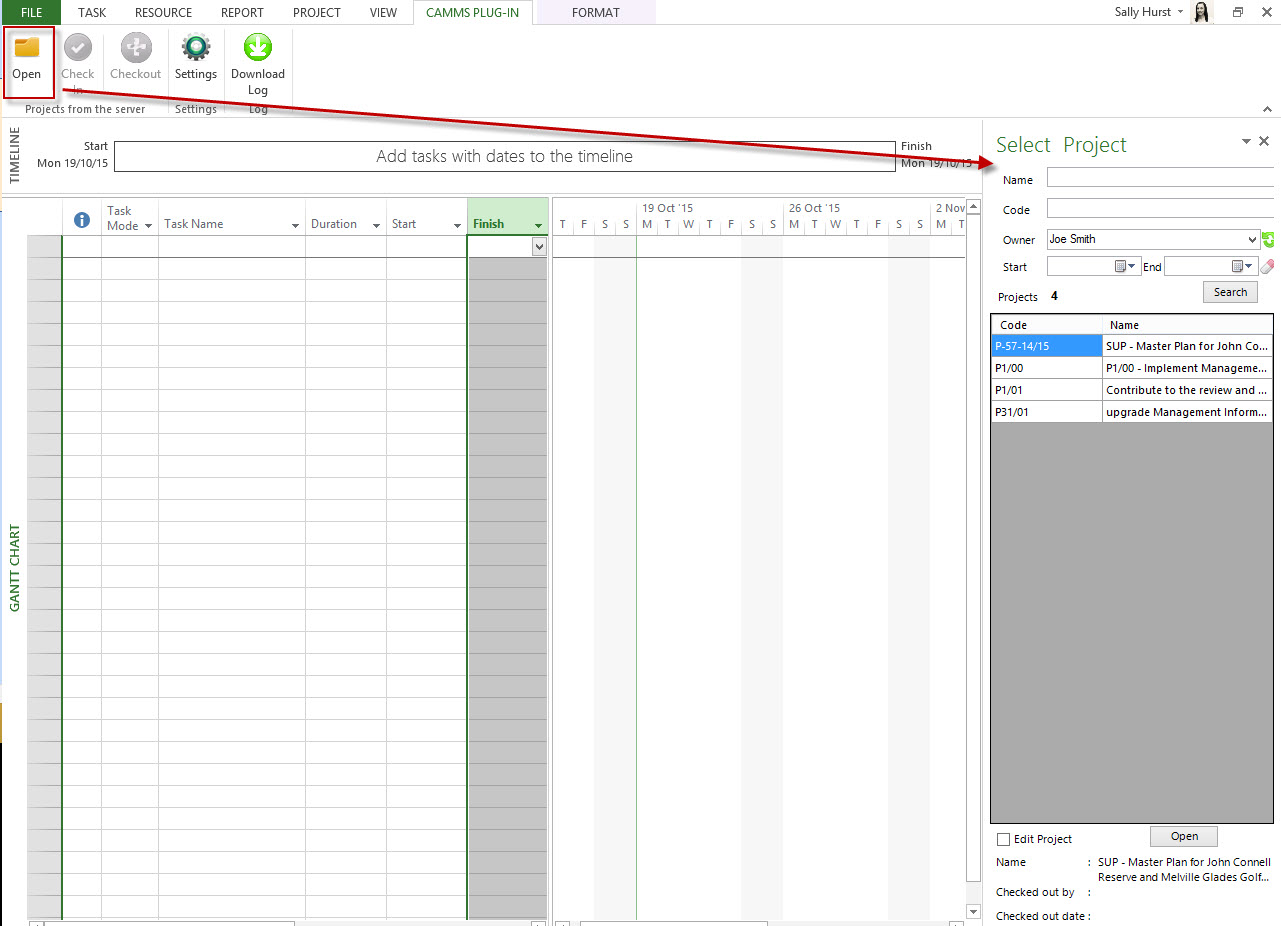
Step 10: You may now Open a project from CAMMS server by clicking on the 'Open' icon and select your project using the filters provided.
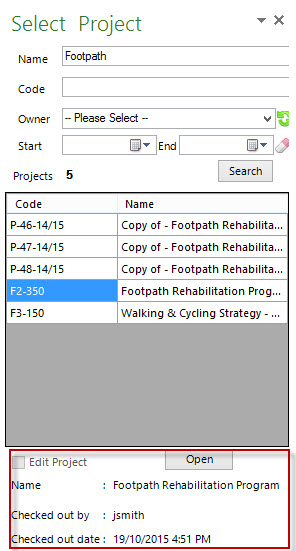
Step 11: Once you have found your project, click 'Open' and the project tasks will populate to MS Project. The project will be opened on view only if you click the 'open' button without ticking the 'edit project' option. Edit Project tick box is located next to the 'Open' button.
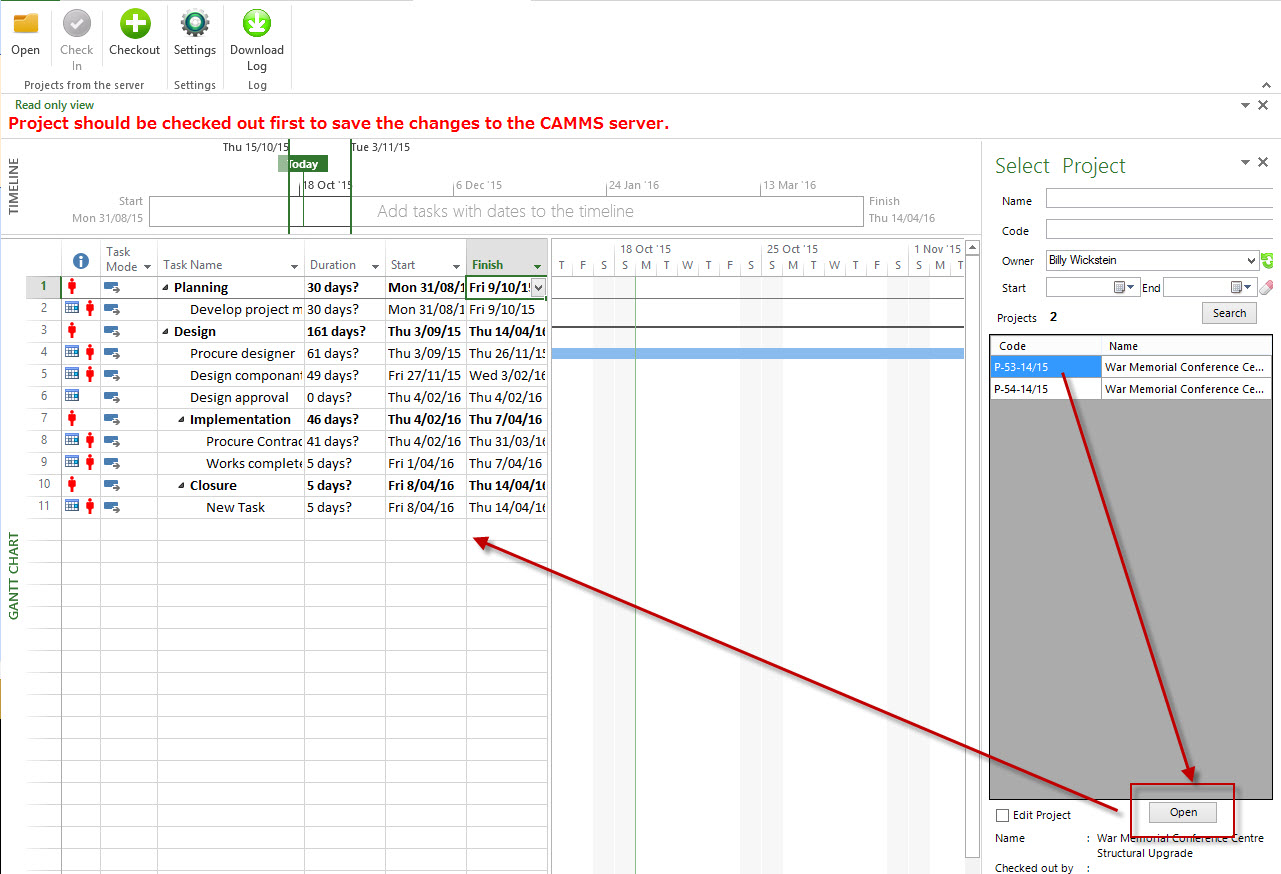
Step 12: Projects which are open on 'view only' option should be first 'Checked Out' in order to save changes to the CAMMS Server. Do this by clicking the 'Checkout' button. Once it has been checked out, you can make your changes and 'check in' all of your changes to import them back to IPM. This will update the changes to the CAMMS server.
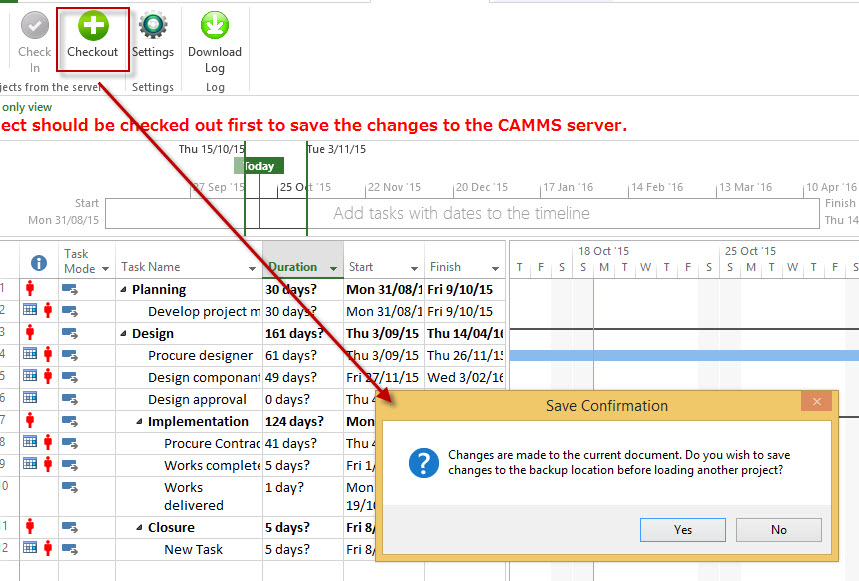
Note: ensure all of your changes have mandatory fields saved. You will receive a message if for example a task doesn't have a responsible person saved. Because this is a mandatory field in interplan, it will need to be linked prior to checking this into IPM.
Step 13: Check in your changes to import them back to IPM Project. A message will indicate to you once the changes are successfully saved to the CAMMS Server.
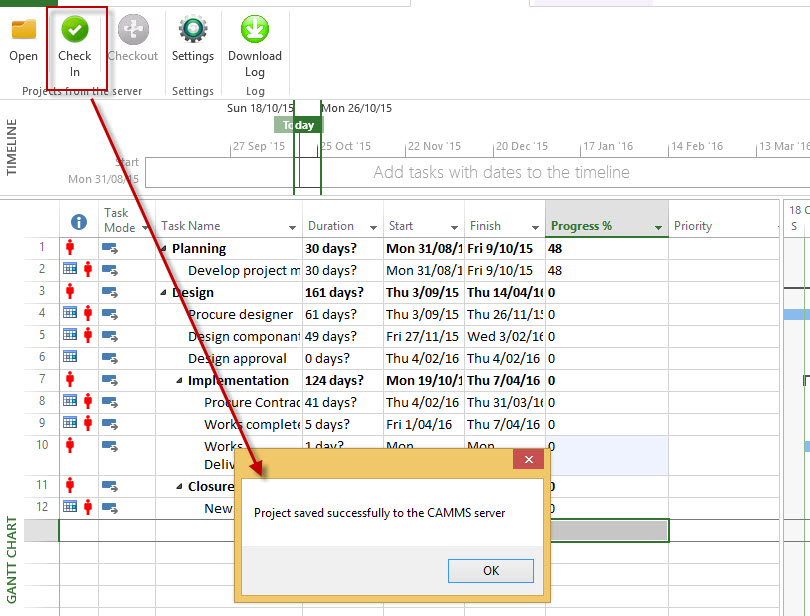
Step 14: Check IPM/Projects and ensure that your changes have been successfully checked in and saved.
Important note:

Copyright © 2014-2015 CAMMS Online Help. All rights reserved.
Last revised: September 23, 2018